How To Dry Orange Slices In The Oven
Want to add a cozy, handmade touch to your holiday decor? Learning how to dry orange slices in the oven is a simple and affordable way to create beautiful Christmas decorations, festive garlands, and even homemade gifts.
These oven-dried orange slices bring a pop of natural color and a hint of citrusy warmth to your tree, wreaths, and holiday crafts. Whether you’re decorating or making DIY simmer pots, this easy method is perfect for adding charm to the season.
And if you love learning about festive traditions, be sure to check out our Christmas Tree Traditions to see how holiday decorating has evolved through the years. Check out our article on Cozy Fall Decor Ideas for another great way to use these dried orange slices.
What You’ll Need To Dry Orange Slices In The Oven
- Fresh Oranges (navel or blood oranges work the best)
- Sharp Knife or Mandoline Slicer
- Baking Sheet
- Parachment Paper Or Wire Rack
- Paper Towels
- Oven
Step-by-Step Guide
Here are the step-by-step directions for how to dry oranges in the oven.
Step 1: Preheat the oven. Set your oven to 200℉ (93℃). Crying oranges low and slow helps prevent them from burning.
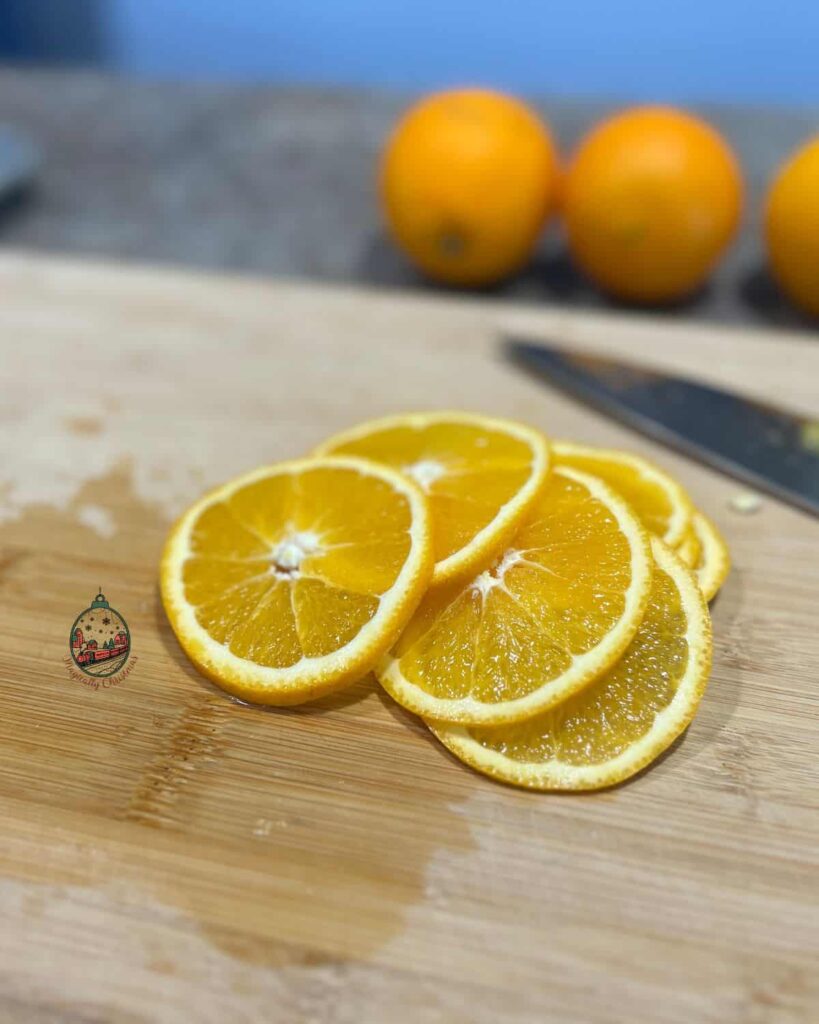
Step 2: Slice the oranges. Using a sharp knife or mandoline, cut the oranges into thin, even slices about 1/8 inch thick. I have also used my food processor to do this.
Step 3: Blot the slices. Use the paper towels to gently press both sides of each orange slice to soak up excess juice. I let my slices sit on the paper towel for an hour prior to placing them in the oven.
Step 4: Arrange on the baking sheet. Line a baking sheet with parchment paper or place a wire rack on it. Lay the orange slices in a single layer, leaving space between each.
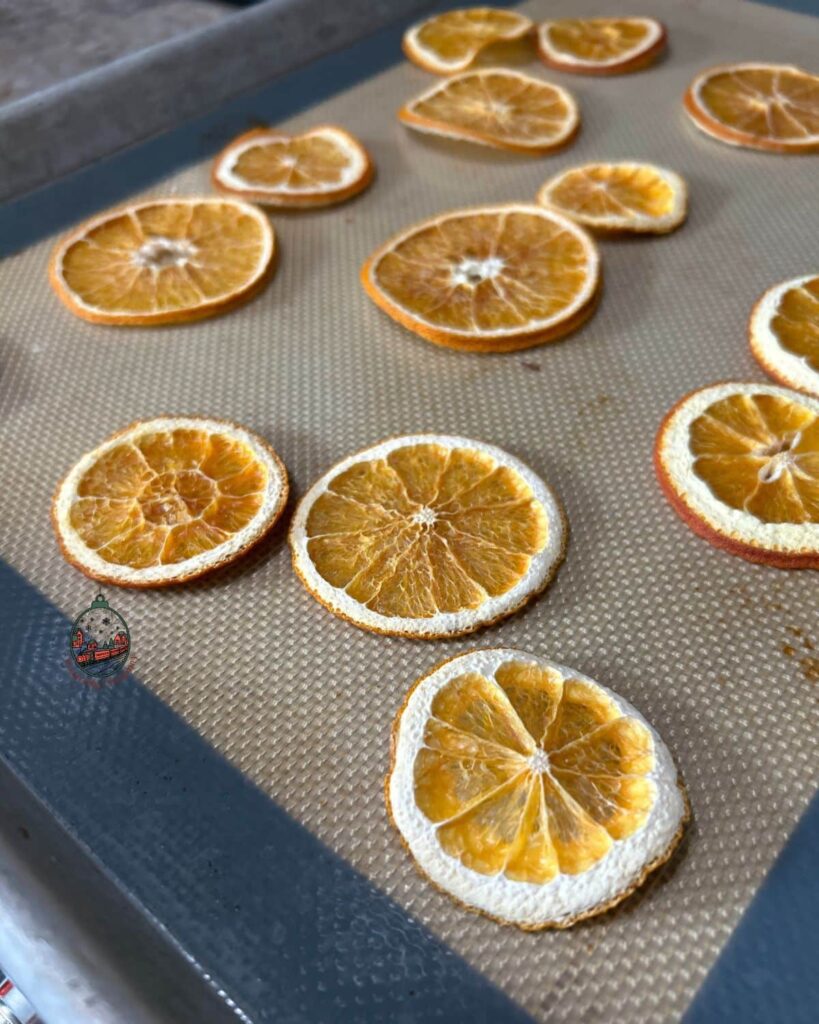
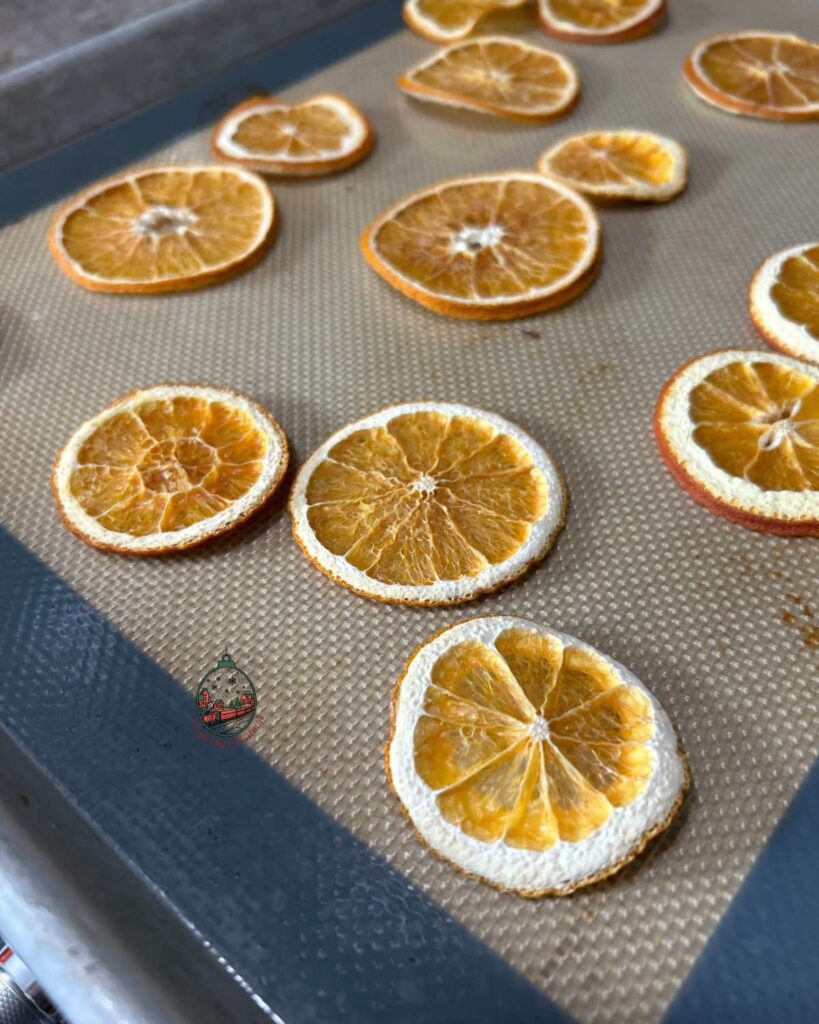
Step 5: Bake the slices. Place the baking sheet in the preheated oven. Bake for 2.5 to 4 hours, flipping the slices halfway through. Keep an eye on them near the end to avoid browning.
Step 6: Cool and Store. Remove the dried slices and let them cool completely. Store in an airtight container or use immediately for your crafts and decorations.
Expert Tips For Oven-Dried Orange Slices
To get the best results when making oven-dried orange slices. Slice your oranges thinly and evenly, about 1/8 inch thick. This helps the slices dry consistently without burning.
Using fresh, firm oranges, like navel or blood oranges, gives you a vibrant color. Keep your oven temperature low, around 200 ℉, to slowly dry the slices without browning. Don’t forget to flip them halfway through baking so both sides dry evenly and become perfectly crisp.
If your slices feel sticky after baking, let them air dry on a wire rack for a few hours or overnight. This extra drying step can make a big difference.
You can also try drying other citrus fruits like lemons, limes, or grapefruit to add a colorful variety to your holiday crafts, garlands, or simmer pots.
Once dried, store orange slices in an airtight container to keep them fresh and ready to use in all your Christmas decorations and DIY projects.
Drying orange slices in the oven is such a fun and rewarding way to add natural beauty to your Christmas decor. Whether you’re making tree ornaments, garlands, or festive centerpieces, these dried citrus slices are a timeless holiday touch.
Pair them with other DIY projects or traditions- like the ones in our Christmas Tree Traditions Timeline, to make your season even more magical. Happy crafting!


